Car Camping In Our Subaru Crosstrek
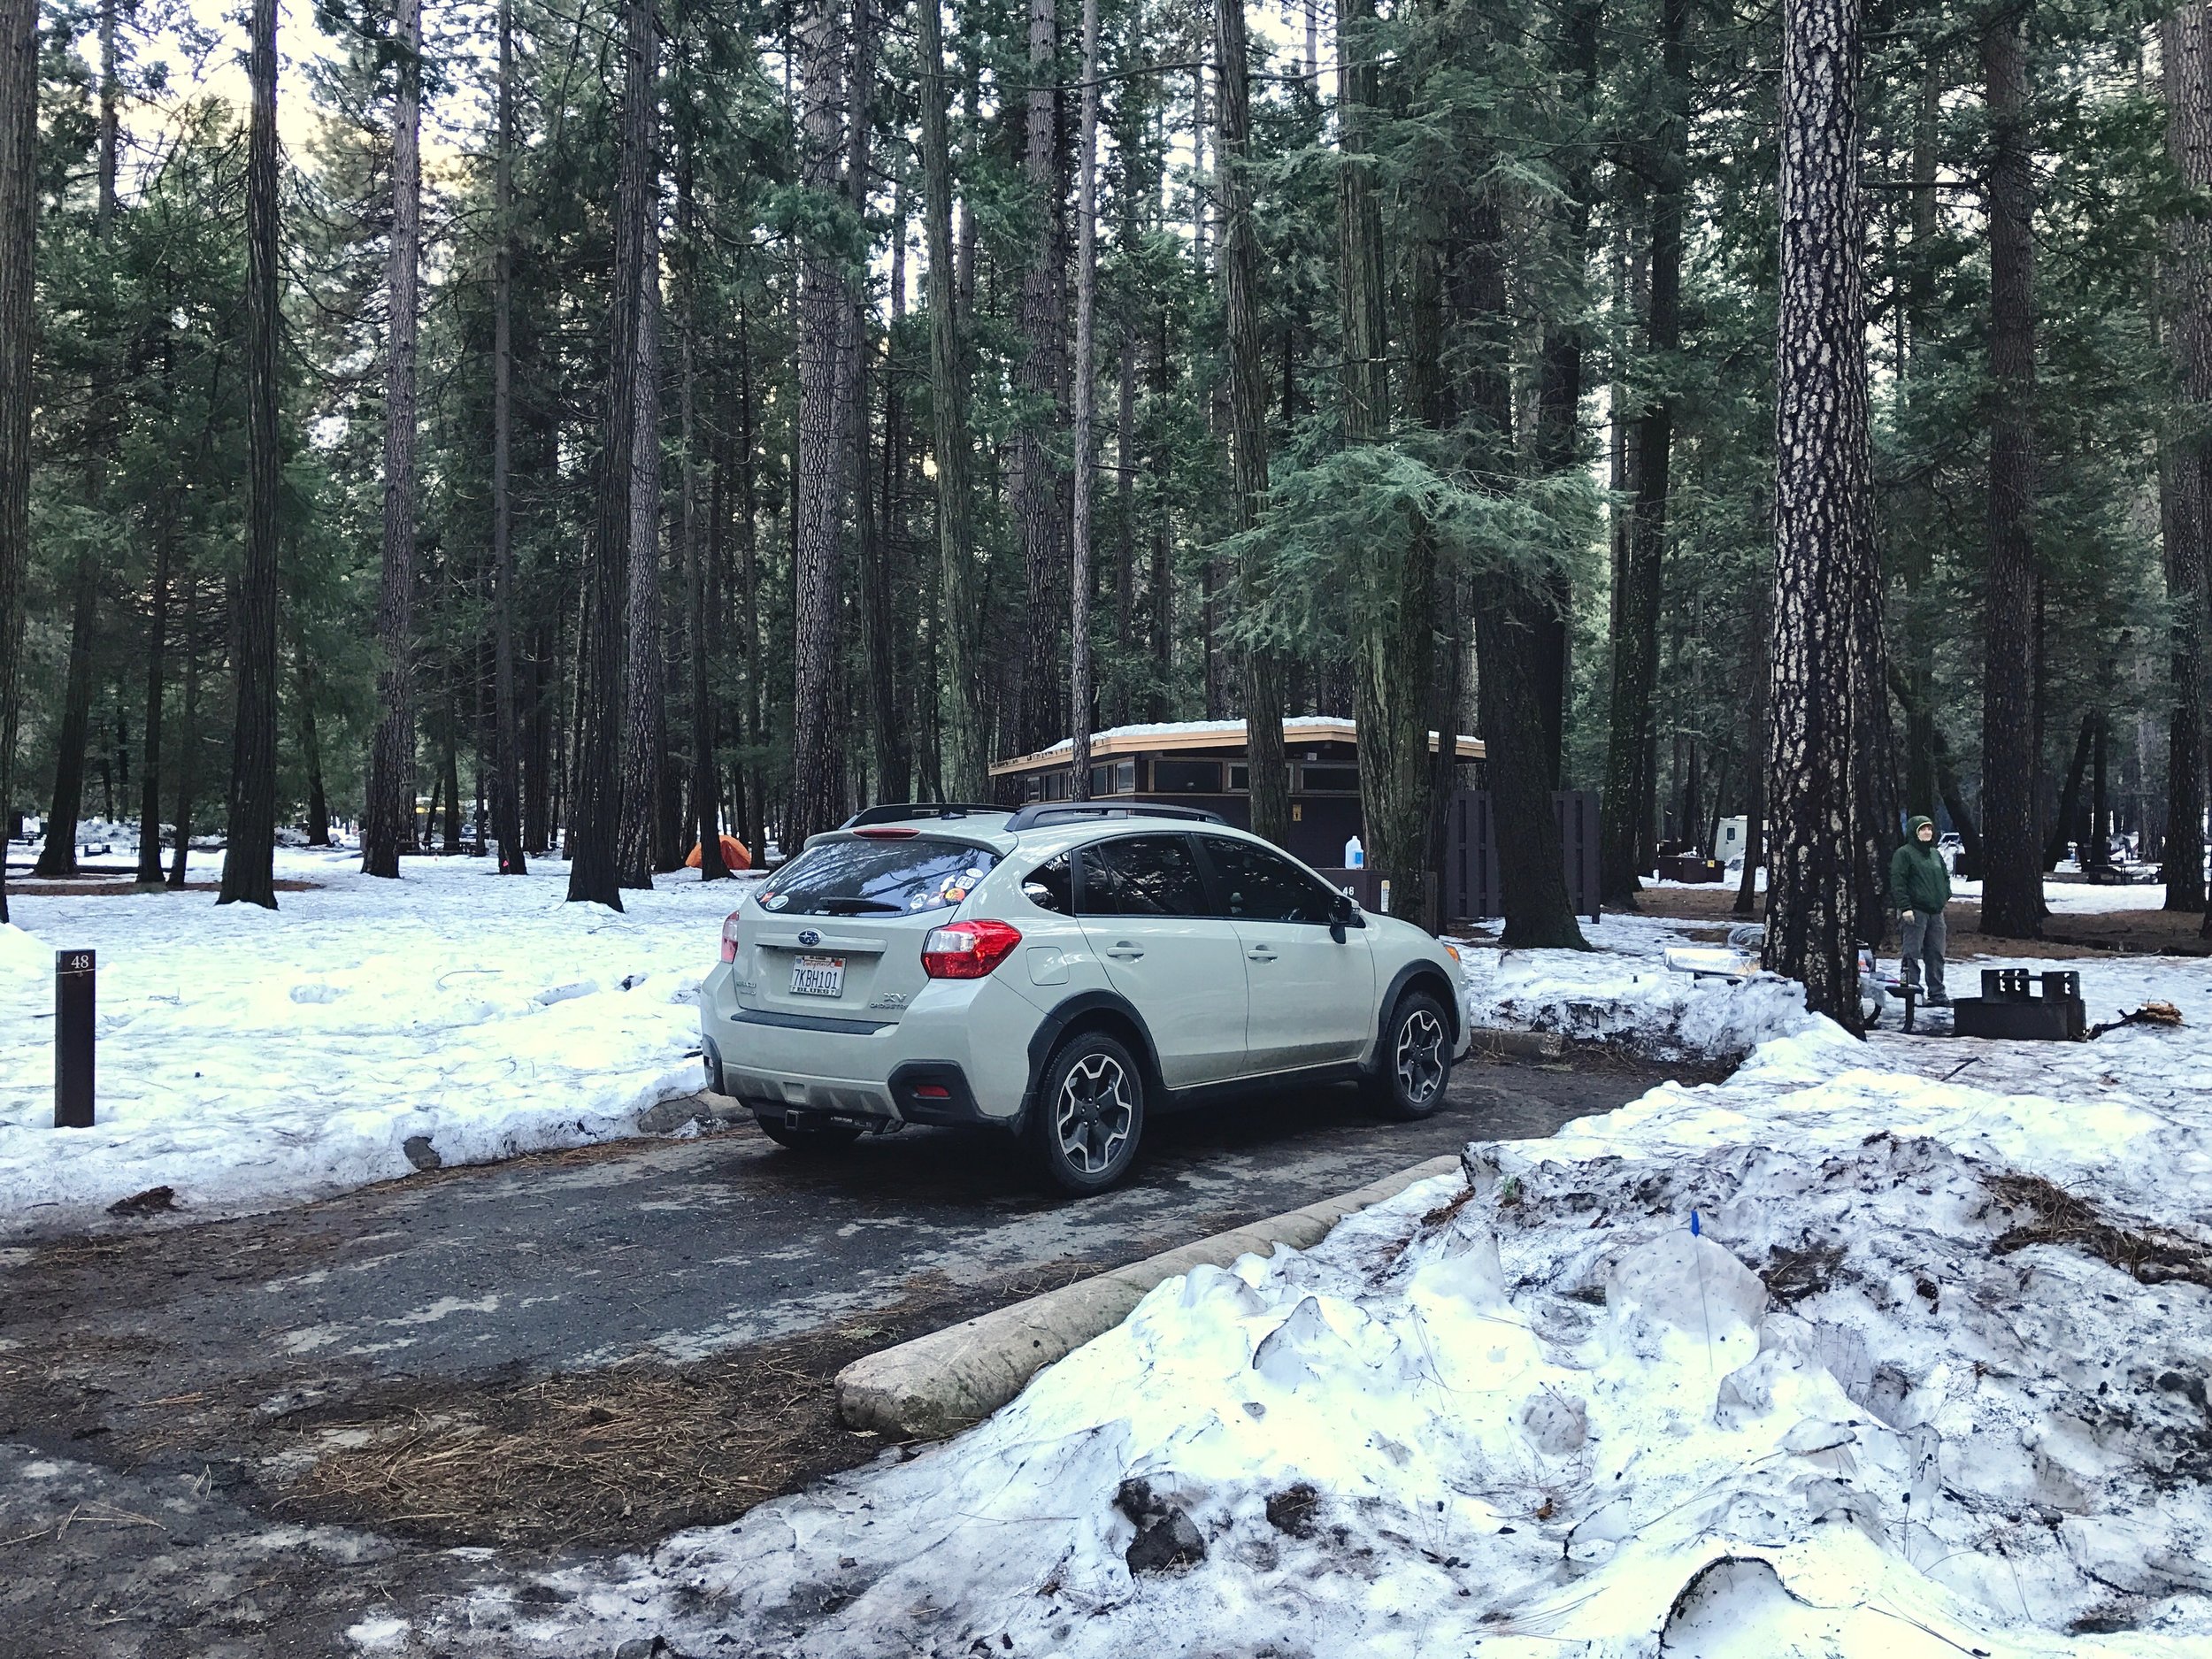
We're tent campers first and foremost. There's nothing quite like falling asleep with only the wind and distant coyotes for company. Every now and then, though, conditions make sleeping in the car the better option. After a few trips with freezing temperatures, strong winds, and rain, we started looking at our Subaru Crosstrek a little differently.
Our goal was simple: create a comfortable place to sleep without permanently modifying the car or building a wooden platform.
Our Failed Attempts
Like most people, we started by piling blankets and sleeping bags in the back. Unfortunately, the folded rear seats in the Crosstrek create a noticeable hump where they meet the cargo area. No matter how much padding we added, that ridge landed right under our hips and made sleeping surprisingly uncomfortable.
Next, we tried our backpacking sleeping pads, but they were just a little too wide to fit properly between the wheel wells.
Then we bought a two-inch foam mattress topper, convinced that would solve the problem. It was comfortable, but the seat hump still pushed right through it. It also took up a surprising amount of room once rolled up.
An air mattress would solve the hump, but only a twin would fit and it was a bit too tall and narrow for two of us. We wanted to utilize the full width of the car, while also not making the base tall (closer to the roof).
We even sketched out plans for a wooden sleeping platform before realizing we were in a little over our heads standing in the lumber aisle at the hardware store.
The Simple Solution
Eventually we wondered if dense foam floor mats could level everything out.
Puzzle-style exercise mats turned out to be exactly what we needed.
We ordered two sets of 24 x 24-inch interlocking foam tiles, spent about an hour trimming them to fit, and ended up with a completely flat sleeping surface without using any power tools.
For less than $40 and an afternoon of work, we had a simple sleeping platform that has served us well on countless trips.
How We Built It
We measured around the wheel wells and from the rear hatch to the backs of the front seats, which were moved fully forward. A utility knife handled most of the cuts, while heavy kitchen shears worked well for trimming smaller sections.
The cargo area and folded seats used four foam tiles. Two additional pieces extended the sleeping area over the rear footwells. When we're camping, a cooler or duffel bags support those front sections, creating extra sleeping length while making use of otherwise empty space underneath.
One unexpected benefit was that we had enough leftover foam to stack an extra layer beneath the rear cargo area, completely leveling out the seat hump. Once everything was in place, the sleeping surface felt surprisingly flat.
The best part is that nothing is permanently installed. If we need the back seats again, the foam pieces simply stack in the cargo area until we're ready for the next trip.
Our Sleeping Setup
For mild weather, we simply lay down inexpensive Coleman sleeping bags as padding and bedding.
When temperatures drop below freezing, we add insulated self-inflating sleeping pads on top of the foam. The insulation underneath makes a huge difference compared to sleeping directly on an air mattress or foam alone.
Depending on the trip, we either zip our Coleman bags together into one large double sleeping bag or use our warmer backpacking bags to save space. If we're staying in one place for several nights, we'll usually throw blankets on top and fully embrace the glamping version of car camping.


Staying Warm in Winter
We first tested this setup during several February nights in Yosemite National Park, where overnight temperatures dropped into the teens. Even in those conditions, the combination of foam flooring, insulated sleeping pads, warm sleeping bags, and extra blankets kept us surprisingly comfortable.
For especially cold trips, we also bring our Sea to Summit Reactor Extreme sleeping bag liners, along with a falsa blanket and a Rumpl blanket for extra warmth.
One of the biggest improvements, though, came from adding Reflectix window inserts.


We cut custom panels for each side and rear window using a single roll of Reflectix. On our 2015 Crosstrek, they fit neatly into the window channels and stayed in place without any additional fasteners.
Besides adding a little insulation, they dramatically reduced the condensation we'd experienced on previous trips and provided excellent privacy. During summer camping, they also help keep the interior noticeably cooler during the day.
For the windshield, we use a Subaru sunshade that blocks most outside light, making the car surprisingly dark even in busy campgrounds.
During warmer trips, we skip the Reflectix and instead use stretchy mesh window screens that allow us to crack the windows for airflow while keeping insects outside.


A Few Comfort Upgrades
Once the basics were figured out, we added a few small touches that made the space feel much cozier. Our LuminAID lantern hangs from the sunroof using a small carabiner and provides plenty of light around camp. We also strung up a set of battery-powered lights that are bright enough for reading but soft enough to create a comfortable atmosphere before bed.
Final Thoughts
The Crosstrek isn't large enough to sit upright in the back, but for the two of us at 5'6", it provides plenty of room to stretch out and sleep comfortably. The foam floor solved the biggest issue with the factory cargo area, and because it stores flat, it doesn't permanently take away any cargo space.
We've used this setup in freezing Yosemite winters, rainy weekends, and plenty of other road trips over the years. It's simple, inexpensive, and requires no permanent modifications to the vehicle. For us, it turned the Crosstrek into a surprisingly capable little camper and gave us another option when a tent wasn't the best choice.